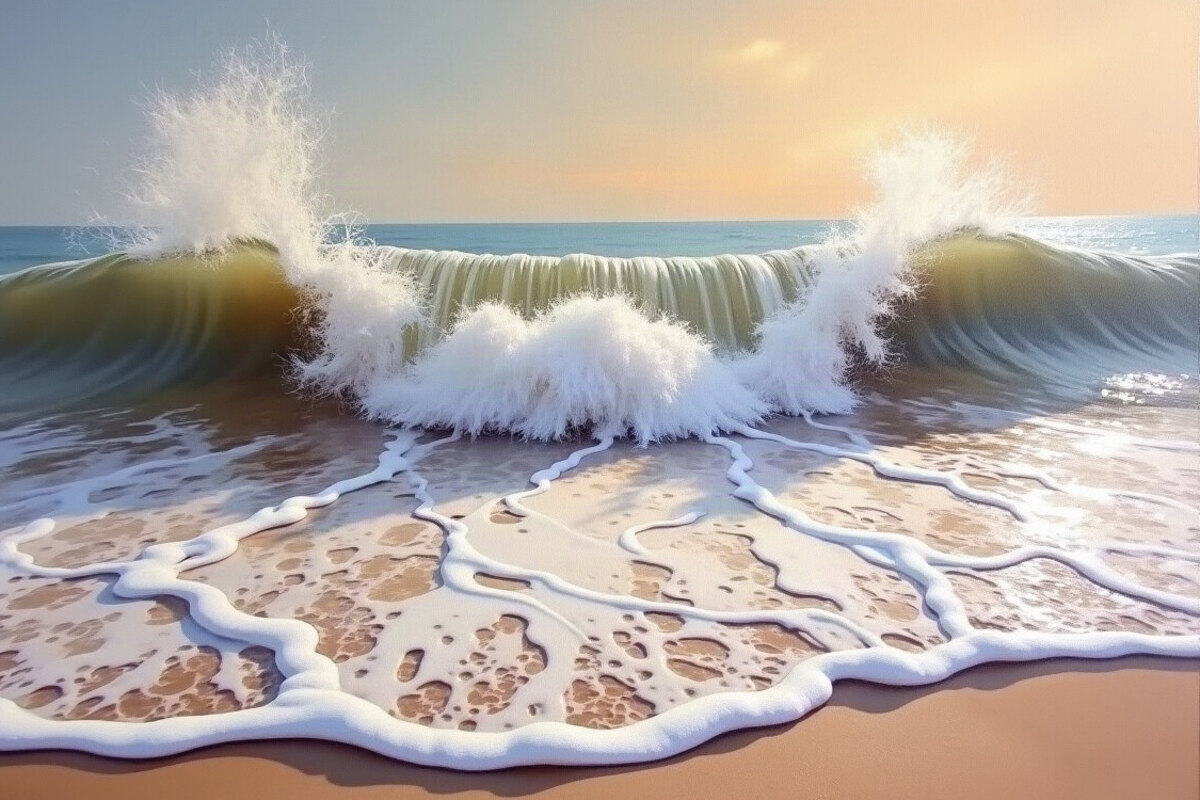
Late light comes in low behind the swell, and the lip of the wave turns from slate to a thin, glowing green just before it curls. Then the crest feathers into white and collapses into foam that holds the warm color of the sky.
Western painters have chased this moment along the Pacific for generations, but a repeating man-made wave can be a better teacher; pages for a Fellsmere surf park are one place to start planning that kind of practice visit in Florida. It all happens in under a second, which makes a breaking wave one of the hardest things in nature to draw, paint or photograph well. Below I look at how light moves through a wave, how Western artists have handled moving water, and how a photographer can use a wave that keeps coming back to train the eye.
Light Inside a Breaking Wave
The first thing to notice is that a wave is not one color. The face that rises toward you is a sloping wall of water, and when the sun sits behind it, light passes through the thinnest part near the crest. That is where the color warms and brightens, often to a bottle green or a pale turquoise, while the thicker base stays dark and cool. As a photographer I think of it as a backlit leaf: the edges glow, the middle holds weight.
When the sun is in front of the wave instead, the effect flips. The face becomes a reflecting surface, picking up the blue of the sky and a long streak of glare, and the translucent glow disappears. Neither is better, but they ask for very different pictures. Backlight gives you drama and color in the crest. Front light gives you texture, the small chop and lines of spray running across the face, and a calmer, more documentary feel.
Then there is the foam. White water is never pure white in a photograph or a painting that works. In shadow it turns faintly violet or blue; in warm evening light it takes on cream and peach. If you expose for the foam and let the rest fall darker, you keep those subtle shifts. If you let it blow out to a flat white, the wave loses its volume and looks pasted onto the scene.
Edges, Spray and the Shape of Motion
Painters talk about hard and soft edges, and a breaking wave contains both in one frame. The line where the lip throws forward is usually crisp against the sky. The spray that lifts off the top is soft, a haze that dissolves into the air. The base, where water folds into foam, is broken and scattered. Learning to see those three edge types separately is half the battle.
A camera records edges according to how fast the shutter closes. A quick exposure freezes droplets into tiny beads and makes the lip look like glass. A slower one smears the spray into silk and turns the foam into a soft band. I avoid giving exact numbers here because the right choice depends on the light, the size of the wave and what you want the picture to say. The useful habit is to decide which edge you care about before you press the button, then check whether the frame kept it.
Look closer
- Find the thinnest point of the crest and notice whether light is passing through it or bouncing off it.
- Compare the color of foam in sunlight with the foam sliding into the wave’s own shadow.
- Trace the one hard edge in the scene, usually the curling lip, and see how soft everything around it becomes.
- Watch where the spray drifts after the wave passes, and notice which way the wind carries the light.
Moving Water in the Western Tradition
Water has always been a test in Western art. Thomas Moran became known for the falls and canyons of Yellowstone, where spray and mist carry much of the color. Albert Bierstadt’s large canvases often set rivers and lakes against mountains, with water acting as a mirror for the drama above. Along the Pacific, a whole tradition of California plein-air painters worked the coastline, setting their easels on bluffs and trying to catch surf and rock before the light changed.
Photographers came to the same problem with different tools. Early landscape photography struggled with moving water because long exposures turned it into fog. Later, as cameras grew faster, photographers could choose between freezing a wave and letting it blur, and that choice became part of the style. Ansel Adams is remembered mostly for mountains and valleys, but the broader tradition he belonged to treated light and tonal range as the real subject, and water is where tonal range is hardest to hold.
What all of these artists shared was repetition. A plein-air painter on the coast does not paint one wave; they watch dozens, then paint a composite that feels truer than any single moment. Photographers do the same in reverse, shooting many frames and choosing the one where shape, light and edge line up.
Practicing on a Wave That Comes Back
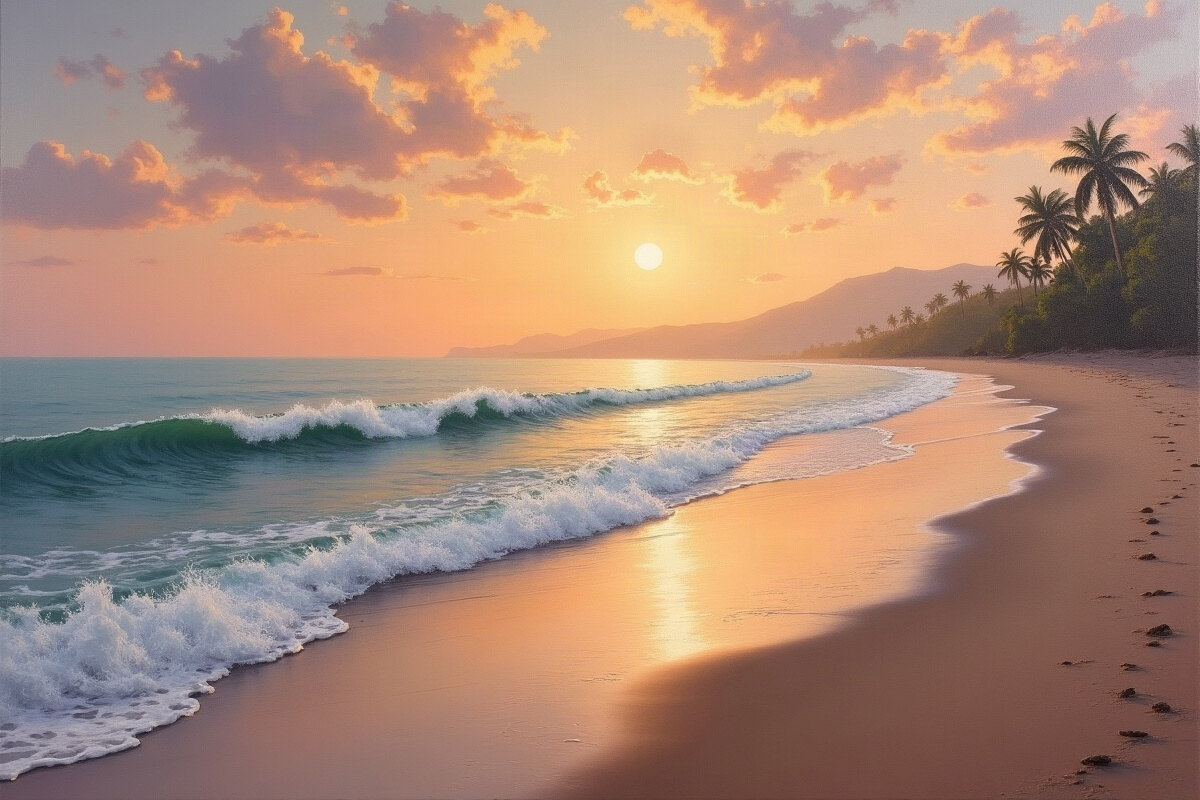
This is why a wave pool is such a useful classroom for anyone who sketches with a camera. On an open beach every wave is different, so you cannot easily compare your choices. A man-made wave repeats its shape closely enough that you can change one thing at a time and see what it does. The Florida light adds its own lesson: humid air softens distance and warms the low sun, a different quality from the dry, hard-edged light of the high desert.
Shoot the Same Wave Three Ways
Pick one spot and stay there. Photograph the wave once as it rises, once at the moment the lip throws, and once as it collapses into foam. Lay the three frames side by side later. Most people find that the rising face, not the crash, carries the best color, while the crash carries the energy.
Work the Light Direction
If you can return at a different time of day, do it. Morning and evening light from a low angle reveal the translucence of the crest; midday flattens it. Note which side of the water the sun sits on and how that changes the glare. This is the same exercise a painter does when returning to a motif, and it trains you to predict light instead of reacting to it.
Print and Archive With Care
Water pictures live or die on subtle tones, so print a few. On a matte paper the foam keeps its soft cream and violet; on a glossy one the glow in the crest stays brighter. Keep your originals backed up in more than one place, and store prints flat and away from damp, which matters even more if you live somewhere humid.
| Light | What the wave shows | What to try |
|---|---|---|
| Low sun behind the wave | Glowing green crest, dark base | Expose for the crest and let the base go deep |
| Low sun in front | Sky reflections, texture across the face | Frame tighter on chop and spray lines |
| High midday sun | Flat color, bright foam | Look for shadows of spray on the water |
| Overcast | Soft, even tones, cool foam | Study shape and edges rather than color |
Before You Pack Up
Next time you are near any moving water, a river riffle or a fountain, look for the one hard edge and the place where light passes through. Then watch the foam settle and notice the faint warmth it borrows from the evening sky before the color drains away.